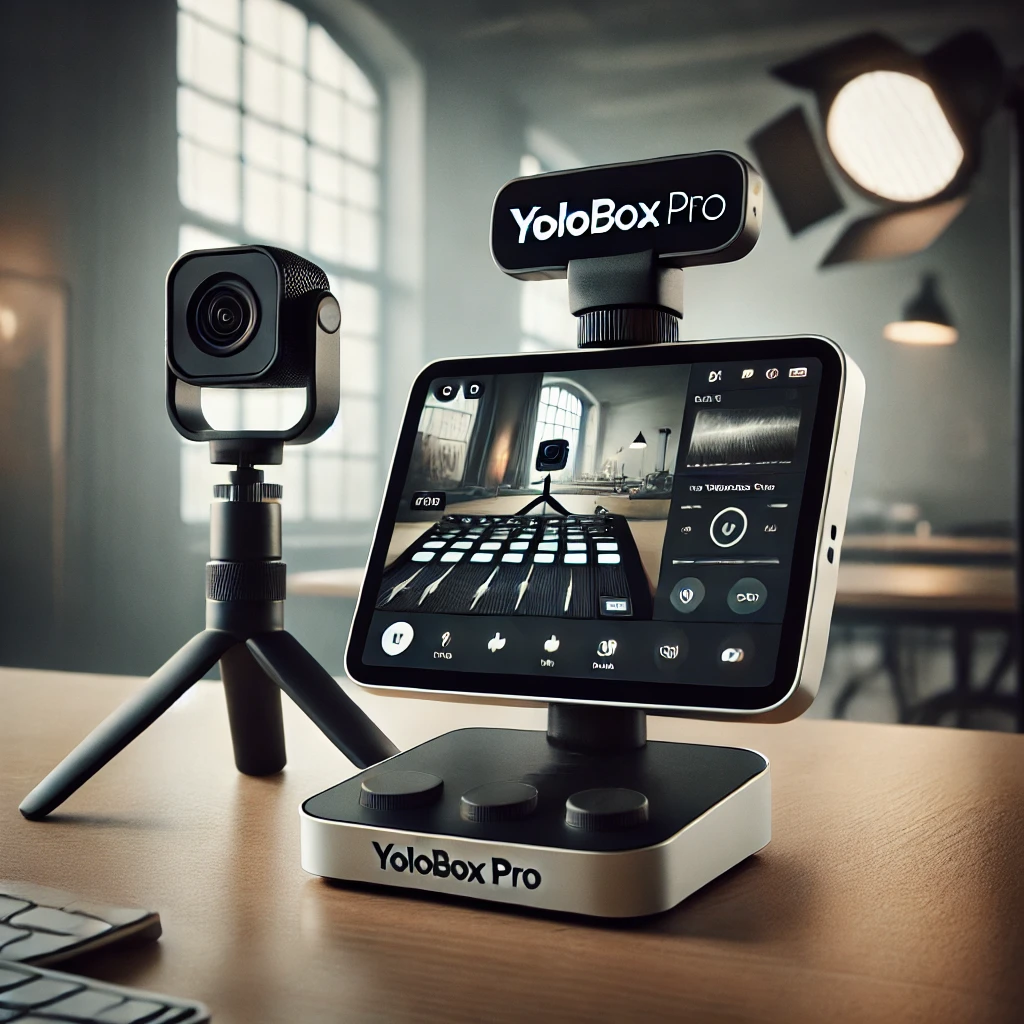
Learning how to set up YoloBox Pro for wireless camera streaming can transform your workflow, and this guide will help you get started with ease. Whether you’re a content creator, videographer, or event manager, this guide will walk you through a step-by-step process to ensure your wireless camera integrates seamlessly with the YoloBox Pro. By the time you’re through, you’ll master the process and be ready to capture dynamic footage on the go.
The YoloBox Pro is a portable, all-in-one live-streaming device that supports multiple camera inputs, advanced overlays, and reliable connectivity. Perfect for professionals, it simplifies complicated setups for wireless cameras, offering exceptional user convenience.
What is the YOLO Box Pro?
Before we jump into the setup process, it’s important to get an idea of what the YOLO Box Pro offers. The YOLO Box Pro is more than just a streaming device. It combines a video switcher, encoder, recorder, and monitor into one compact device. It’s an ideal tool for creators who demand high-quality content production without bulky setups.
Key Features of YOLO Box Pro:
- Wireless Camera Support: Connect wirelessly to compatible cameras for easy mobility.
- Supports Multiple Inputs: HDMI, USB, and wireless streaming via RTMP links.
- Stream to Multiple Platforms Simultaneously: Broadcast your content directly to Facebook, YouTube, or other platforms.
- Integrated Display: Its touchscreen interface eliminates the need for an external monitor.
- Portability: Lightweight design makes it perfect for on-the-go creators.
How to Set Up YOLO Box Pro for Wireless Camera
1: Check Compatibility
Before you get started, ensure that your wireless camera is compatible with the YOLO Box Pro. The device supports a wide range of cameras, but you may need to confirm the following features to ensure smooth integration:
- Supports Wireless Streaming Protocol: Cameras must support Wi-Fi or RTMP streaming for wireless connectivity with YOLO Box Pro.
- Live Streaming Capabilities: Some cameras have built-in live streaming capabilities, making the setup easier.
- Video Output: Verify the supported resolution (up to 1080p) and frame rates for high-quality streams.
Consult your camera’s user manual if you’re unsure about its wireless streaming capabilities.
2: Power Up the YOLO Box Pro
Connect your YOLO Box Pro to a power source using the USB-C cable provided. Although it’s battery-powered, starting with a full charge is always a good idea.
Once powered on, the touchscreen interface will display the home screen where all the setup takes place.
3: Connect the YOLO Box Pro to Wi-Fi
A critical step for wireless camera connectivity is ensuring the YOLO Box Pro is connected to the internet. Follow these steps to establish a connection:
- Tap the Settings icon on the home screen.
- Navigate to Wi-Fi Settings.
- Select your network and enter the password.
Once connected, you’ll see the Wi-Fi symbol in the status bar, confirming the connection.
4: Configure the Wireless Camera
Now it’s time to set up your wireless camera to stream directly to the YOLO Box Pro. This configuration depends on your camera brand and model, but general steps include:
- Enable Wi-Fi on Your Camera: Access your camera’s settings and turn on the Wi-Fi or streaming mode.
- Assign the YOLO Box Pro as a Destination: Most cameras will require you to enter an RTMP URL and stream key. These can be found on your YOLO Box Pro under Wireless Camera Setup.
- Test the Connection: Once configured, run a quick connection test to ensure the camera and YOLO Box Pro are communicating properly.
5: Add Your Camera as a Source on YOLO Box Pro
Once your camera is configured, follow these instructions to add it as an input source on the YOLO Box Pro touchscreen interface:
- Navigate to the Sources menu on the home screen.
- Tap Add Source.
- Select Wireless Camera from the options.
- Your camera should appear on the list. Select it to add it to your live production setup.
You should see the video feed from your camera displayed on the YOLO Box Pro.
6: Customize Your Stream Settings
YOLO Box Pro allows you to tailor your live streaming experience. Here’s how to do it:
- Set Platforms: Choose from platforms like YouTube, Facebook, Zoom, and more.
- Stream Resolution: Select the desired output, such as 720p or 1080p, based on your internet bandwidth and camera capabilities.
- Add Overlays: Use YOLO Box Pro’s built-in tools to add text overlays or graphics to make your stream more engaging.
7: Start Streaming!
With everything in place, tap the Go Live button. Congratulations! You’re now streaming wirelessly using the YOLO Box Pro and your camera. Monitor your feed using the device’s built-in interface to ensure everything runs smoothly.
Similar ideas: How to Control Multiple Sony Cameras at One Time
Why Choose the YoloBox Pro for Wireless Cameras?
Before you jump into setting up the YoloBox Pro, it’s worth understanding why it’s an excellent choice. Pairing it with a wireless camera allows for:
- Enhanced Mobility: The wireless setup eliminates the need for bulky cables, enabling smooth coverage of dynamic or fast-moving scenes.
- Convenient Streamlined Workflow: The YoloBox Pro merges video switching, encoding, and live-streaming into one device.
- Robust Multistreaming: Stream to multiple platforms like YouTube, Facebook, and Twitch simultaneously.
- High-Quality Output: Support for 1080p broadcasting ensures polished and professional results.
FAQs
1. Which cameras are compatible with the YoloBox Pro?
Most cameras with HDMI output are compatible with the YoloBox Pro. If the camera supports wireless streaming, check if it provides RTMP/SRT stream URLs to connect easily to the device.
2. Can I use multiple wireless cameras with the YoloBox Pro?
Yes. The YoloBox Pro supports multiple video sources. You can add additional wireless cameras using separate RTMP streams or external receivers for HDMI inputs and manage them simultaneously from the interface.
3. What should I do if the wireless connection drops during a live stream?
Ensure both your YoloBox Pro and camera are on the same stable Wi-Fi network. Adjust your camera’s position to avoid interference, or consider upgrading your network’s router for better performance.
Final Thoughts
Learning how to set up YoloBox Pro for wireless camera integration takes a bit of preparation, but the results are incredibly rewarding. This professional-grade solution combines portability, powerful features, and simplicity, making it a favorite for videographers, content creators, and event professionals alike. By following the steps above, you’ll be on your way to flawless live streaming and efficient video production.
Looking for more insights or expert tips? Explore YoloBox community forums or consult our technical support team for additional guidance.


